Free Pattern
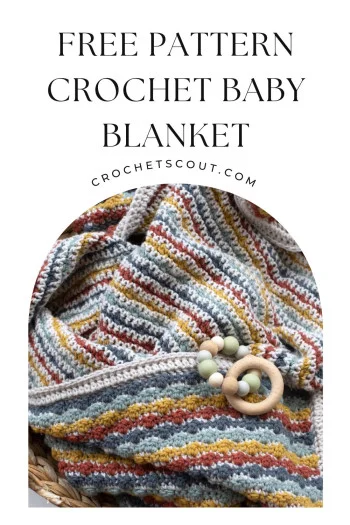
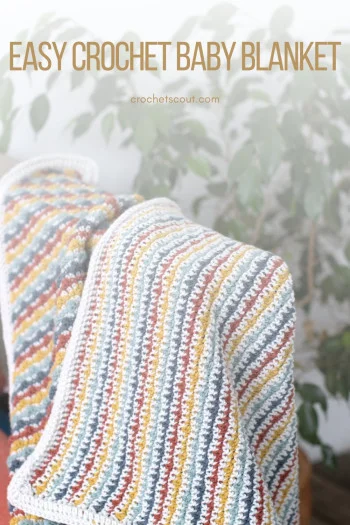
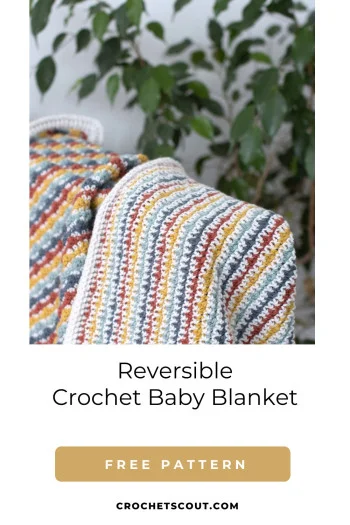
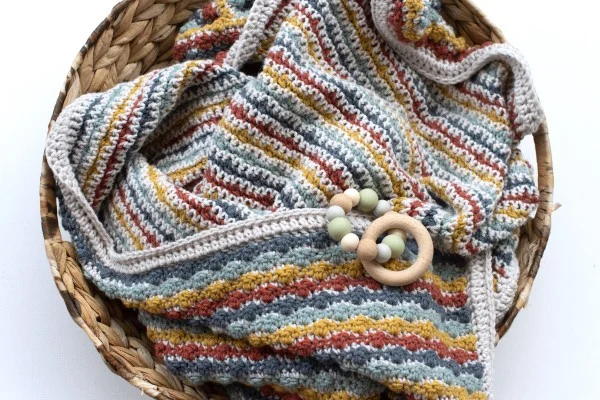
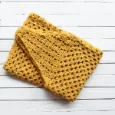
Bobbles & Stripes Crochet Baby Blanket
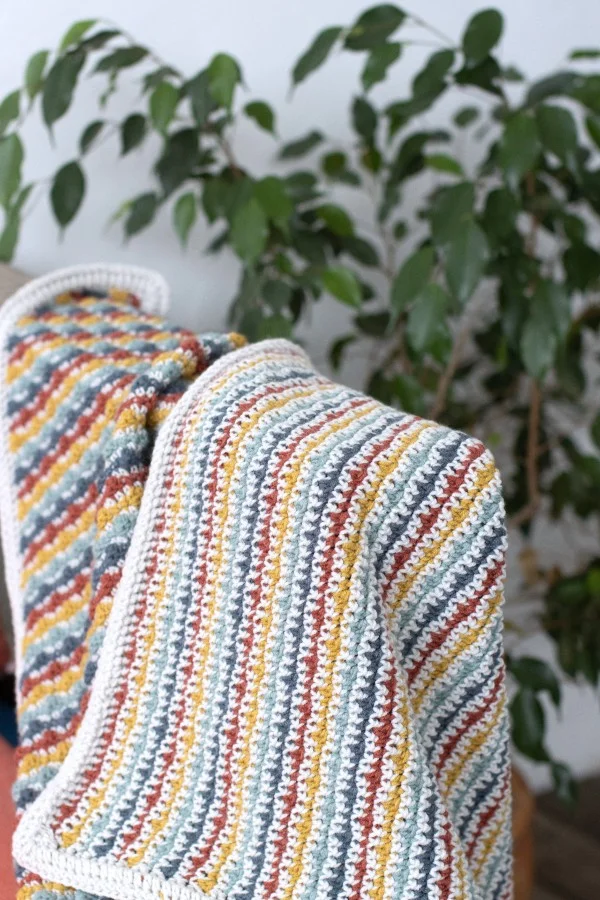
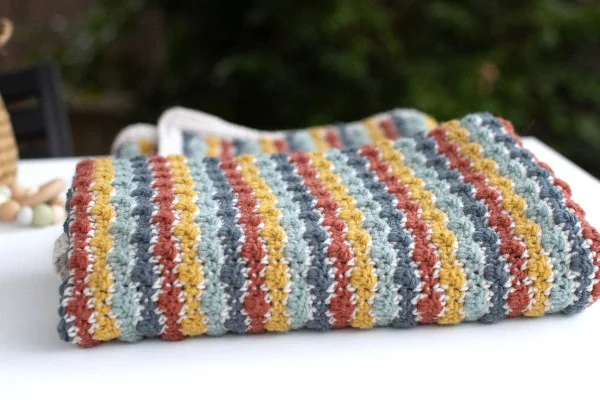
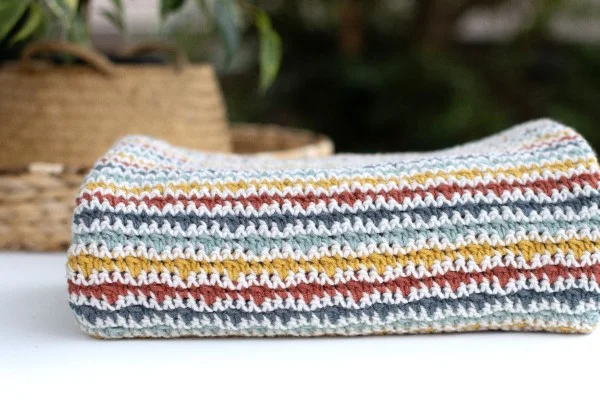
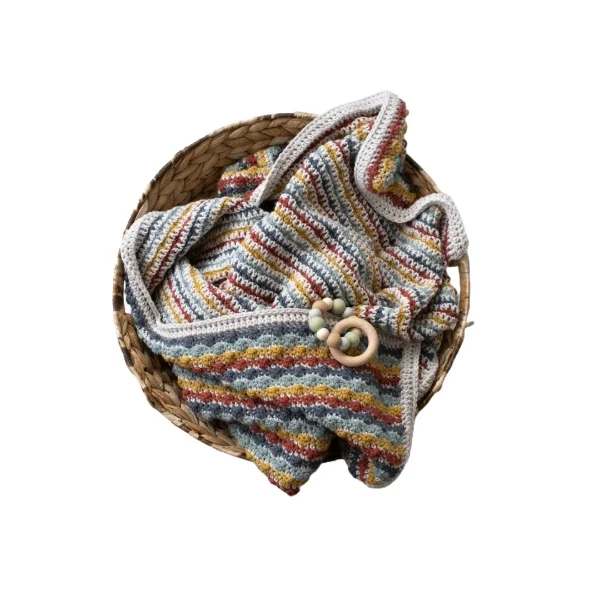
This easy crochet baby blanket is a free pattern featuring a reversible design with two completely different looks – the ‘wrong side’ is my favourite! The stitch design is super easy and uses single crochet and a modified bobble stitch.
One of the best things about this pattern is that even though there are lots of colour changes, there are only a few ends to weave in. The ends are tied off and concealed in the envelope-style border edging. This finishing technique is a real game-changer for striped blankets; it just makes all those ends so much easier to deal with.
Materials
Yarn:
You will need eight 100 g balls of #4 medium/worsted weight yarn, e.g., Colour Theory from Lion Brand Yarn.
You’ll need four 100 g skeins for the primary colour, Colour A, used for every second row of the blanket in the blanket. And one each in four contrasting colours.
I used the Moonbeam colourway for Color A and alternated it with Canyon, Bee Pollen, Tourmaline, and Stonewash.
Crochet HookS:
A 5 mm (H-8) crochet hook for the border.
A 6 mm (J-10) crochet hook for the starting chain and a 5.50 mm (I-9) hook for the body of the blanket.
Notions:
- scissors
- yarn needle
- stitch markers
Pattern Notes
Skill Level
The Bobbles and Stripes Baby Blanket is an easy-level pattern.
The stitches used are single crochet, double crochet, and a modified bobble stitch – more accurately – a two-double crochet cluster stitch.
Bobble stitches typically use three or more double-crochet stitches, often five. However, in this design, a two-double crochet cluster stitch is used for a shallower bobble.
The stitches used in the envelope border are single crochet, front post single crochet, half double crochet, front post half double crochet, and double crochet.
Special Stitches/Techniques Used
Two Double Crochet Cluster Stitch (2 dc-cl) –
- Yo, insert hook in st, yo, pull through st.
- Yo, pull through 2 loops.
- Yo, insert hook in same st, yo, pull through st.
- Yo, pull through 2 loops.
- Yo, pull through three loops.
. Here’s a video tutorial to show you how.
Stitch Abbreviations
ch – chain
st/sts – stitch/stitches
sc – single crochet
hdc – half double crochet
dc – double crochet
yo – yarn over
2 dc cl – two double crochet cluster stitch
FPsc – front post single crochet
FPhdc – front post half double crochet
Colour Changes
You will be changing colours in every row. When you reach the end of each row, fasten off, i.e., cut the yarn, leaving a tail, wrap the yarn around your hook and pull all the way through the loop on your hook until you have a knot.
Attach the new colour to your hook with a slip-knot.
Gauge
Gauge is not important for this project.
Size
The finished baby blanket measures approximately 40″ x 40″ (102 cm x 102 cm) when made in the listed materials.
Bobbles & Stripes Crochet Baby Blanket
Pattern Instructions
Colours
Colour A – Moonbeam
Colour B – Canyon
Colour C – Bee Pollen
Colour D – Tourmaline
Colour E – Stonewash
Using a 6 mm crochet hook and Colour A, chain 132.
Change to a 5.5 mm hook.
Row 1: Sc in 2nd ch from hook and in each ch across. Fasten off and turn. (131 sc)
Row 2: Working in colour B, sc 3, *2 dc cl in next st, sc 3, rep from * to end. Fasten off and turn.
Row 3: Working in colour A, sc across. Fasten off and turn.
Row 4: Working in colour C, sc in first st, *2 dc cl in next st, sc 3, rep from * till you reach last two sts, 2 dc cl, sc. Fasten off and turn.
Row 5: Working in colour A, sc across. Fasten off and turn.
Row 6: Working in colour D, sc 3, *2 dc cl in next st, sc 3, rep from * to end. Fasten off and turn.
Row 7: Working in colour A, sc across. Fasten off and turn.
Row 8: Working in colour E, sc in first st, *2 dc cl in next st, sc 3, rep from * till you reach last two sts, 2 dc cl, sc. Fasten off and turn.
Row 9: Working in colour A, sc across. Fasten off and turn.
Rows 10- 137: Repeat rows 2 to 9
Cut yarn and weave in ends.
Envelope Border
Before starting the edging, I highly recommend watching this video tutorial detailing how to work an easy envelope border using the quick-start method. Keep in mind that the tutorial uses the same method as this pattern but with different stitches.
To begin, tie off all your yarn ends together in pairs and trim.
Start your border on the wrong side, working with Colour A and a 5 mm crochet hook.
Row 1: Front post single crochet all around the blanket, working an (FPsc, FPhdc, FPsc) in each corner. Mark each FPhdc (corner) with a stitch marker.
Row 2: Hdc around, working a (hdc, dc, hdc) in each corner. Mark each dc with a stitch marker.
Turn your work and do the same thing on the right side of your work.
Next row: Close the envelope. Sc all around, working through the tops of the stitches on both sides. Wok 3sc in each corner.
Cut yarn and weave in ends.
You might like . . .
Granny Square Baby Blankets
C2C Crochet Baby Blankets
Rainbow Baby Blankets


Leave a Reply